Adding Pictures to you site
There are four elements that can be used to add images to a site:
- The above mentioned paragraph with picture element.
- The picture element -- upload one image per element.
- The picture gallery element -- upload as many pictures as you like to create a gallery of clickable images.
- The slideshow element -- upload as many pictures as you like to create a slideshow of images.
Uploading an image to a picture element is as simple as clicking the big blue Sample Image.
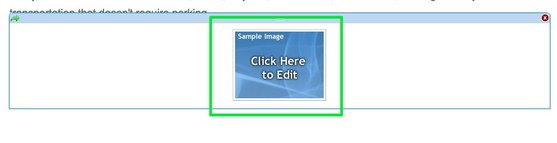
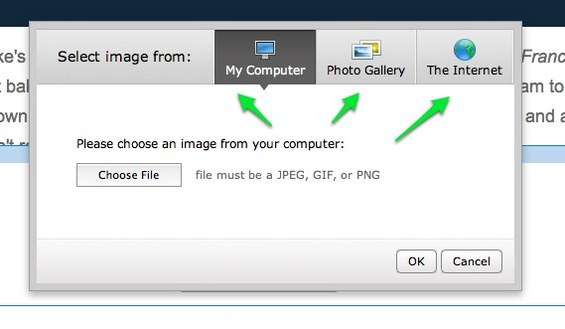
This opens a dialog box where you select how you want to upload your image. You can:
- Upload an image from your computer.
- Select one from Flickr's free, searchable library of creative commons licensed images. Using this option will add a small copyright attribution to the footer of your site linking to the photographer who took the image.
- Enter the address of an image from out on the internet. You should only use this third option if you already own the image you're embedding.
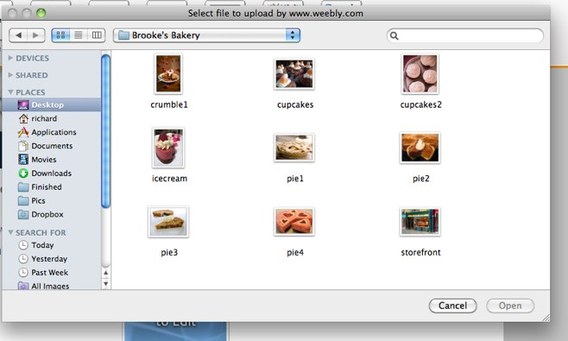
In this example I've selected the My Computer option and then clicked Choose File. Doing so opens a file browser on the computer through which an image can be selected.
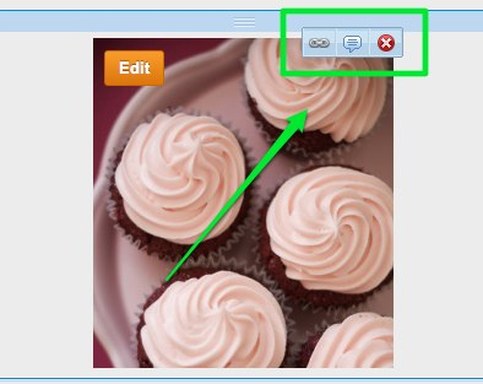
There are a number of different ways to change and edit an uploaded image. The first you'll notice is the the little pop-over menu that appears above the image when you scroll over it. Using this you can:
- Link the image to site, page, email address or file.
- Add a caption to the image.
- Remove the image.
The second is the blue toolbar that appears at the top of the screen when you click directly on the image. Use this toolbar (from left-to-right) to:
- Replace the current image with a new one.
- Set a border size (or no border at all).
- Select a gray or black border
- Position the image to the left / center / right of the element (you can also drag the image within the element to do this).
- Use the Advanced option to set the margins around the image and enter Alt Text if needed (if you don't know what Alt Text is then don't worry about using it).

The third is the Edit button that appears in the upper left of the image when you roll over it.
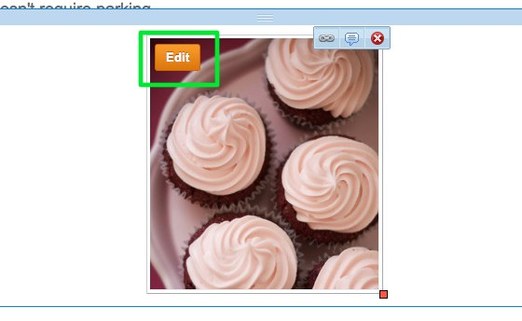
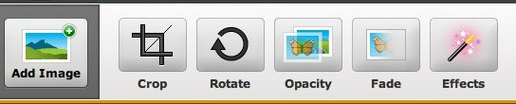
This brings up our ImagePerfect editor. You can use this to crop, rotate and add effects to the image. You can also add more images to this picture element, but this is much more limiting than using our Slideshow or Gallery options.
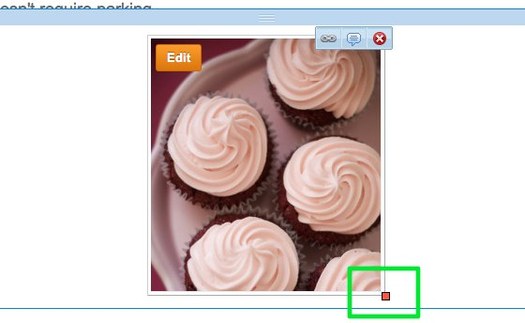
Re-size images by clicking and dragging the box found on the lower-right-corner of each.
And that's the basics of working with an image. If you want to learn specifically how to use a gallery or slideshow, go their respective help pages in this section of our help site to read up on them.
And that's the basics of working with an image. If you want to learn specifically how to use a gallery or slideshow, go their respective help pages in this section of our help site to read up on them.
Our site now looks like this:
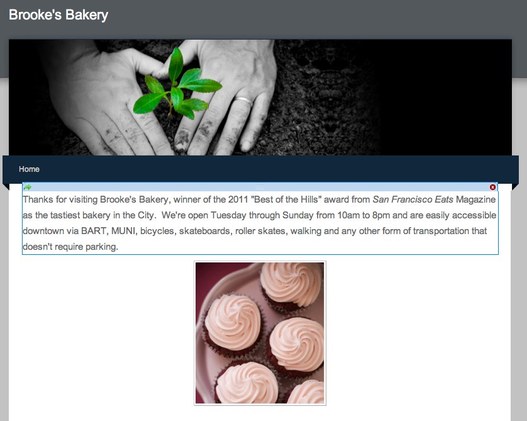
As you can see, each element we've added is stacked above or beneath another element like a column of building blocks. Elements stack on top of one another by default within the editor.